
Building furniture as a beginner starts with selecting a simple project that requires no sawing, using precut lumber, basic hand tools, and following straightforward assembly instructions. The easiest entry point is a basic bench or side table built from dimensional lumber available at any home center. With precut wood, a drill, screws, sandpaper, and a couple of hours, you can create a functional piece of furniture that builds your confidence and teaches fundamental skills like measuring, drilling pilot holes, and squaring corners.
The beauty of starting with no-saw projects is that you skip the most intimidating part of woodworking while still learning the core principles that apply to every build. You’ll discover how wood grain affects strength, why pilot holes prevent splitting, and how small adjustments during assembly make the difference between wobbly and rock-solid.
This isn’t about cutting corners or settling for less. Many experienced woodworkers still build stunning pieces using only precut materials and hand tools. You’re simply choosing a different starting line, one that lets you focus on assembly techniques, joinery basics, and finishing without the cost and complexity of power saws and a full workshop.
The psychological shift matters too. Completing your first project, even a simple one, transforms woodworking from something other people do into something you actually know how to do. That first piece sitting in your home becomes proof that you can build furniture, and it naturally leads to asking what you’ll tackle next. The community of furniture builders started exactly where you are now, and they’ll tell you the same thing: just start with one manageable project and learn as you build.
What You’ll Need: Tools and Materials for No-Saw Furniture Projects
Where to Find Precut Lumber
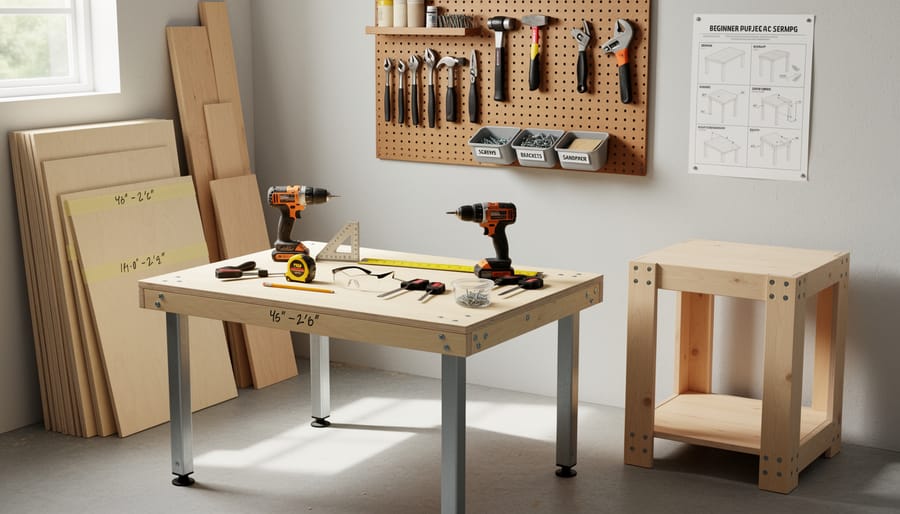
Most big-box home improvement stores stock precut lumber in standard dimensions that work perfectly for beginner furniture building. Look in the lumber aisle for pine, poplar, or cedar boards already cut to common lengths like 48″, 72″, or 96″. These stores often carry project packs specifically designed for furniture building, which include multiple matching pieces. Staff can help you locate dimensional lumber sections where you’ll find 1x4s, 1x6s, and 2x4s in consistent sizes.
Online retailers ship precut wood bundles directly to your door, ideal if you lack transportation for longer boards. Many specialty woodworking suppliers offer curated kits with all pieces for specific projects, eliminating guesswork about quantities and sizes.
When selecting pieces, sight down each board’s length to check for warping or twisting. Run your hand across the surface feeling for rough spots, splits, or large knots that might weaken joints. Choose boards with straight grain and minimal defects, especially for visible furniture parts. Don’t hesitate to dig through the stack, quality varies even within the same bin. Buying a couple extra pieces costs less than restarting a project because one board turned out badly warped once you got it home.
Safety First: Important Precautions for Beginner Builders
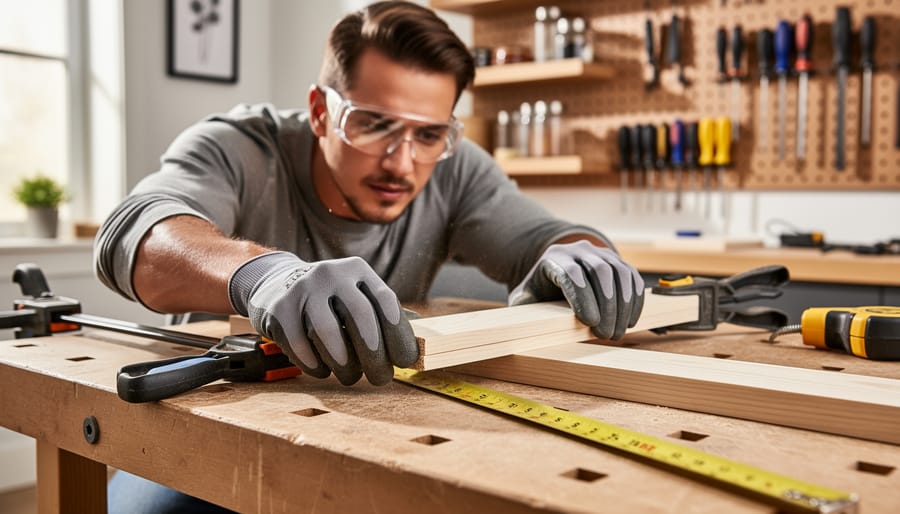
Even without power tools, beginner furniture building requires attention to basic safety practices that protect you and help you build confidently. Hand tools deserve respect, screwdrivers can slip and puncture skin, hammers can catch fingers, and even sandpaper creates fine dust that irritates eyes and lungs. Always work in good lighting so you can see what you’re doing, and never rush through measurements or fastening steps.
Your workspace matters more than you might think. Clear a stable surface at a comfortable height, sweep away debris that could cause trips, and make sure heavy lumber pieces have support before you start assembling them. Lifting precut boards seems easy until you’re holding an eight-foot piece awkwardly, bend your knees, keep the load close to your body, and don’t hesitate to ask someone to help you maneuver long pieces into position. There’s no shame in getting assistance; experienced builders do it all the time.
When you apply wood glue or finishes, crack a window or work outside if possible. Even low-VOC products benefit from airflow, and your lungs will thank you. Clamps are wonderful helpers, but improper technique can pinch fingers or let boards slip unexpectedly, read up on safe use of clamps before tightening them down hard.
The supportive woodworking community celebrates asking questions. If a step feels unsafe or you’re unsure how to stabilize a wobbly assembly, pause and reach out. Online forums, local maker spaces, and even the staff at lumber yards are usually happy to share advice. Building furniture should feel rewarding, not risky, and these simple precautions keep it that way.
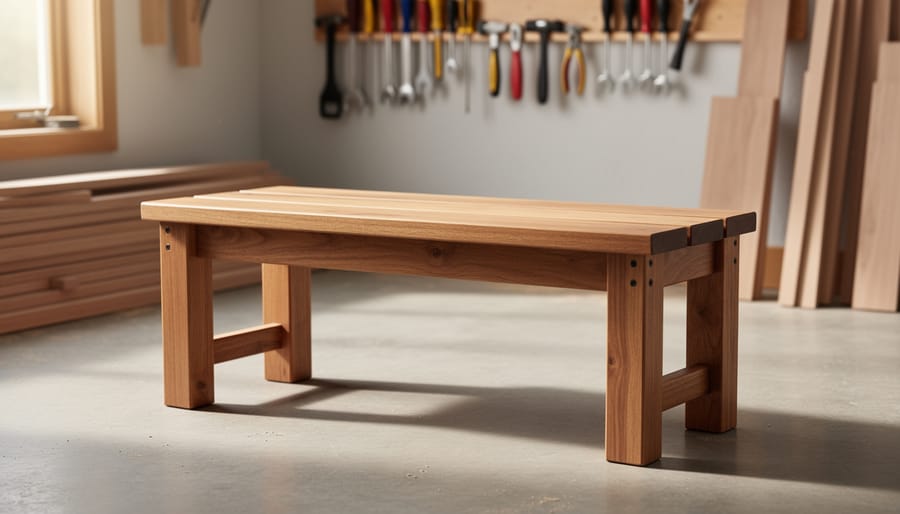
Your First Build: Step-by-Step Simple Bench Project
Preparing Your Workspace
Setting up your workspace properly makes all the difference when you’re starting out. You don’t need a dedicated workshop, a corner of your garage, a clear spot on the patio, or even a section of your living room can work perfectly for beginner furniture building projects.
Start by clearing a flat surface large enough to lay out your longest piece of lumber with at least two feet of clearance on all sides. A folding table, sturdy workbench, or even a clean section of floor covered with cardboard works well. Good lighting matters more than you might think; position a lamp or work light so you can see your measurements and hardware clearly without shadows.
Gather everything you’ll need before you begin. Lay out your tools, hardware, and lumber pieces within easy reach. This preparation sets you up for efficient assembly and prevents frustrating mid-project searches for misplaced screws or tools.
Protect your floor with a drop cloth, old blanket, or flattened cardboard boxes to catch sawdust from sanding and prevent scratches from lumber or hardware. Keep a small trash bag nearby for waste.
Assembly Techniques That Work
Joining precut lumber pieces properly makes the difference between a wobbly disaster and furniture that lasts for years. Start every screw connection with a pilot hole, a small hole drilled where the screw will go. This prevents splitting and gives you straighter, stronger joins. Use a drill bit slightly narrower than your screw’s shaft, and mark your desired depth with tape wrapped around the bit.
Wood glue amplifies joint strength dramatically. Apply a thin, even bead along both surfaces, spread it with your finger or a scrap stick, then press the pieces together. Wipe away squeeze-out immediately with a damp cloth before it dries.
Clamps hold everything steady while glue sets and you drive screws. You don’t need expensive models, basic bar clamps or even spring clamps work for most beginner projects. Position clamps to apply even pressure across the joint, not just at the edges. Let glued joints cure for at least an hour before removing clamps.
These time-saving techniques become second nature quickly, and you’ll see better results with every build.
Three More Beginner-Friendly Projects to Try
Once you’ve completed your bench and felt that surge of accomplishment, you’re ready to tackle more projects that build on those same foundational skills. Here are three excellent next steps that still use precut lumber and basic tools, but each teaches you something new about furniture construction.
A simple bookshelf is the perfect second project for most beginners. Using standard precut boards for shelves and vertical supports, you’ll learn about spacing, load distribution, and how to create a functional piece that needs to hold weight safely. This project typically takes 3-4 hours and teaches you about reinforcement techniques and how to think about structure beyond basic assembly. The beauty of a bookshelf is that you can make it as tall or wide as your space allows, and the repetitive nature of shelf placement helps you build faster as you develop rhythm and confidence.
A side table introduces you to working with four-sided structures and thinking about top surfaces. This 2-3 hour project teaches precise corner joins and how to create a flat, stable surface that won’t wobble. You’ll practice measuring diagonals to ensure square corners and learn techniques for attaching a tabletop securely. The compact size makes it forgiving, and having a functional bedside or end table you built yourself is incredibly satisfying.
Storage crates are where creativity meets utility. These modular projects take just 1-2 hours each, and once you’ve built one, you can create a whole set. They teach you about open-frame construction and how pieces can be both structural and decorative. Stack them, mount them on walls, or use them under beds. This project builds your confidence to experiment with dimensions and personalize designs.
Each of these projects reinforces what you learned with your bench while introducing new challenges that expand your capabilities without overwhelming you.
Checking Your Work: How to Know Your Furniture Is Solid
After you finish assembling your piece, you need to verify it’s safe and stable before you call it done. This step separates furniture that lasts from furniture that wobbles apart after a week. Think of this as your quality control checkpoint, and it only takes a few minutes.
Start with the wobble test. Place your furniture on a flat, level surface and press down on opposite corners. If the piece rocks back and forth, your joints may need tightening or you might have uneven legs. Next, check that everything sits flush by running your hand along all seams and connections. Gaps larger than a credit card’s thickness mean your joints need adjustment.
For square corners, use a carpenter’s square or the simple 3-4-5 triangle method. Measure three inches along one edge, four inches along the adjoining edge, and the diagonal between those points should be exactly five inches if your corner is square. This matters because furniture that’s out of square will stress joints unevenly and fail faster.
Finally, do a real-world load test. If you built a bench, sit on it. If you made a shelf, load it with books. Listen for creaks, watch for flex, and feel for movement. Solid furniture should feel completely stable under normal use.
Once your piece passes these checks, you’re ready for finishing touches like sanding rough edges, applying wood conditioner, or adding protective sealant. These verification skills work for every skill level and every project, giving you confidence that what you built will actually last.
Common Questions About Beginner Furniture Building
How much does it cost to start building furniture as a beginner?
You can start with under $50 for basic hand tools like a screwdriver, hammer, and measuring tape, plus around $20-40 for precut lumber and hardware for your first project. Building furniture yourself costs significantly less than buying finished pieces, and your tool investment pays off across multiple projects.
Do I really need woodworking experience to build furniture?
No experience is necessary when you start with precut lumber projects that require only assembly. These beginner furniture building approaches let you learn fundamentals like measuring, fastening, and finishing without needing to master cutting or complex joinery first.
How long does it take to complete a first furniture project?
A simple bench or shelf using precut lumber typically takes 2-4 hours for complete beginners, including setup and cleanup. As you build confidence and learn techniques to save time later projects often go faster.
When should I consider getting power tools?
Move to power tools when you’ve completed several precut projects, feel comfortable with hand tools and safety practices, and want to tackle custom-sized builds that require cutting. Many builders happily create quality furniture for years using only hand tools and precut materials.
What if my first project doesn’t turn out perfect?
Imperfections are part of hands-on learning and actually make your furniture unique. Focus on whether the piece is stable and functional rather than flawless, and remember that each project teaches you something that makes the next one better.
Where can beginners find help when stuck on a project?
Online woodworking communities, local maker spaces, and home improvement store staff offer free support for beginners. Taking photos of your project and asking specific questions helps others guide you through challenges.
The beauty of beginner furniture building lies in its forgiving nature. Precut lumber projects let you focus on assembly techniques without worrying about precise cuts, making mistakes less costly and confidence easier to build. Your first piece might wobble slightly or show visible screw heads, but it represents real progress in developing practical skills. The supportive woodworking community celebrates these learning moments because every experienced builder started exactly where you are now, discovering that furniture creation is far more accessible than it first appears.
You’ve just taken your first steps into beginner furniture building, and that’s worth celebrating. No power tools, no complex cuts, just you, some precut lumber, and the satisfaction of creating something solid with your own hands. That first bench you built? It’s proof that furniture making isn’t reserved for experts with full workshops.
The beauty of starting with no-saw projects is that you can begin right now, right where you are. Every piece you assemble teaches you something new about joinery, stability, and finishing. Your skills will grow naturally as you move from that simple bench to bookcases, tables, and beyond.
This is just the beginning of your furniture building journey. The woodworking community is here to support you, share tips, and cheer on your progress. Don’t hesitate to show off your creations, ask questions when you’re stuck, or help another beginner who’s just starting out. We’ve all been there, measuring twice and learning as we go.
Pick your next project, grab your tools, and keep building. Every piece of furniture you create adds to your confidence and your home.